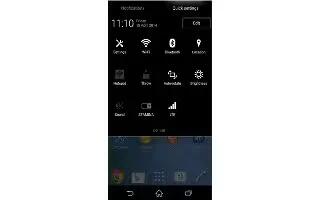
Learn how to use WiFi on your Sony Xperia Z2. Use Wi-Fi connections to surf the Internet, download applications, or send and receive emails. Once you have connected to a Wi-Fi network, your device remembers the network and automatically connects to it the next time you come within range.
Some Wi-Fi networks require you to log in to a web page before you can get access. Contact the relevant Wi-Fi network administrator for more information. Available Wi-Fi networks may be open or secured:
- Open networks are indicated by WiFi icon next to the Wi-Fi network name.
- Secured networks are indicated WiFi Security icon by next to the Wi-Fi network name.
Note: Some Wi-Fi networks do not show up in the list of available networks because they do not broadcast their network name (SSID). If you know the network name, you can add it manually to your list of available Wi-Fi networks.
To turn on Wi-Fi
- From your Home screen, tap Apps icon.
- Find and tap Settings.
- Drag the slider beside Wi-Fi to the right to turn on the Wi-Fi function.
Note: It may take a few seconds before Wi-Fi is enabled.
To connect to a Wi-Fi network automatically
- From your Home screen, tap Apps icon.
- Find and tap Settings.
- Tap Wi-Fi. All available Wi-Fi networks are displayed.
- Tap a Wi-Fi network to connect to it. For secured networks, enter the relevant password. WiFi icon is displayed in the status bar once you are connected.
Note: To search for new available networks, tap Menu icon, and then tap Scan.
To add a Wi-Fi network manually
- From your Home screen, tap Apps icon.
- Find and tap Settings > Wi-Fi.
- Tap + icon.
- Enter the Network SSID information.
- To select a security type, tap the Security field.
- If required, enter a password.
- To edit some advanced options such as proxy and IP settings, mark the Show advanced options checkbox and then edit as desired.
- Tap Save.
Note: Contact your Wi-Fi network administrator to get the network SSID and password.
