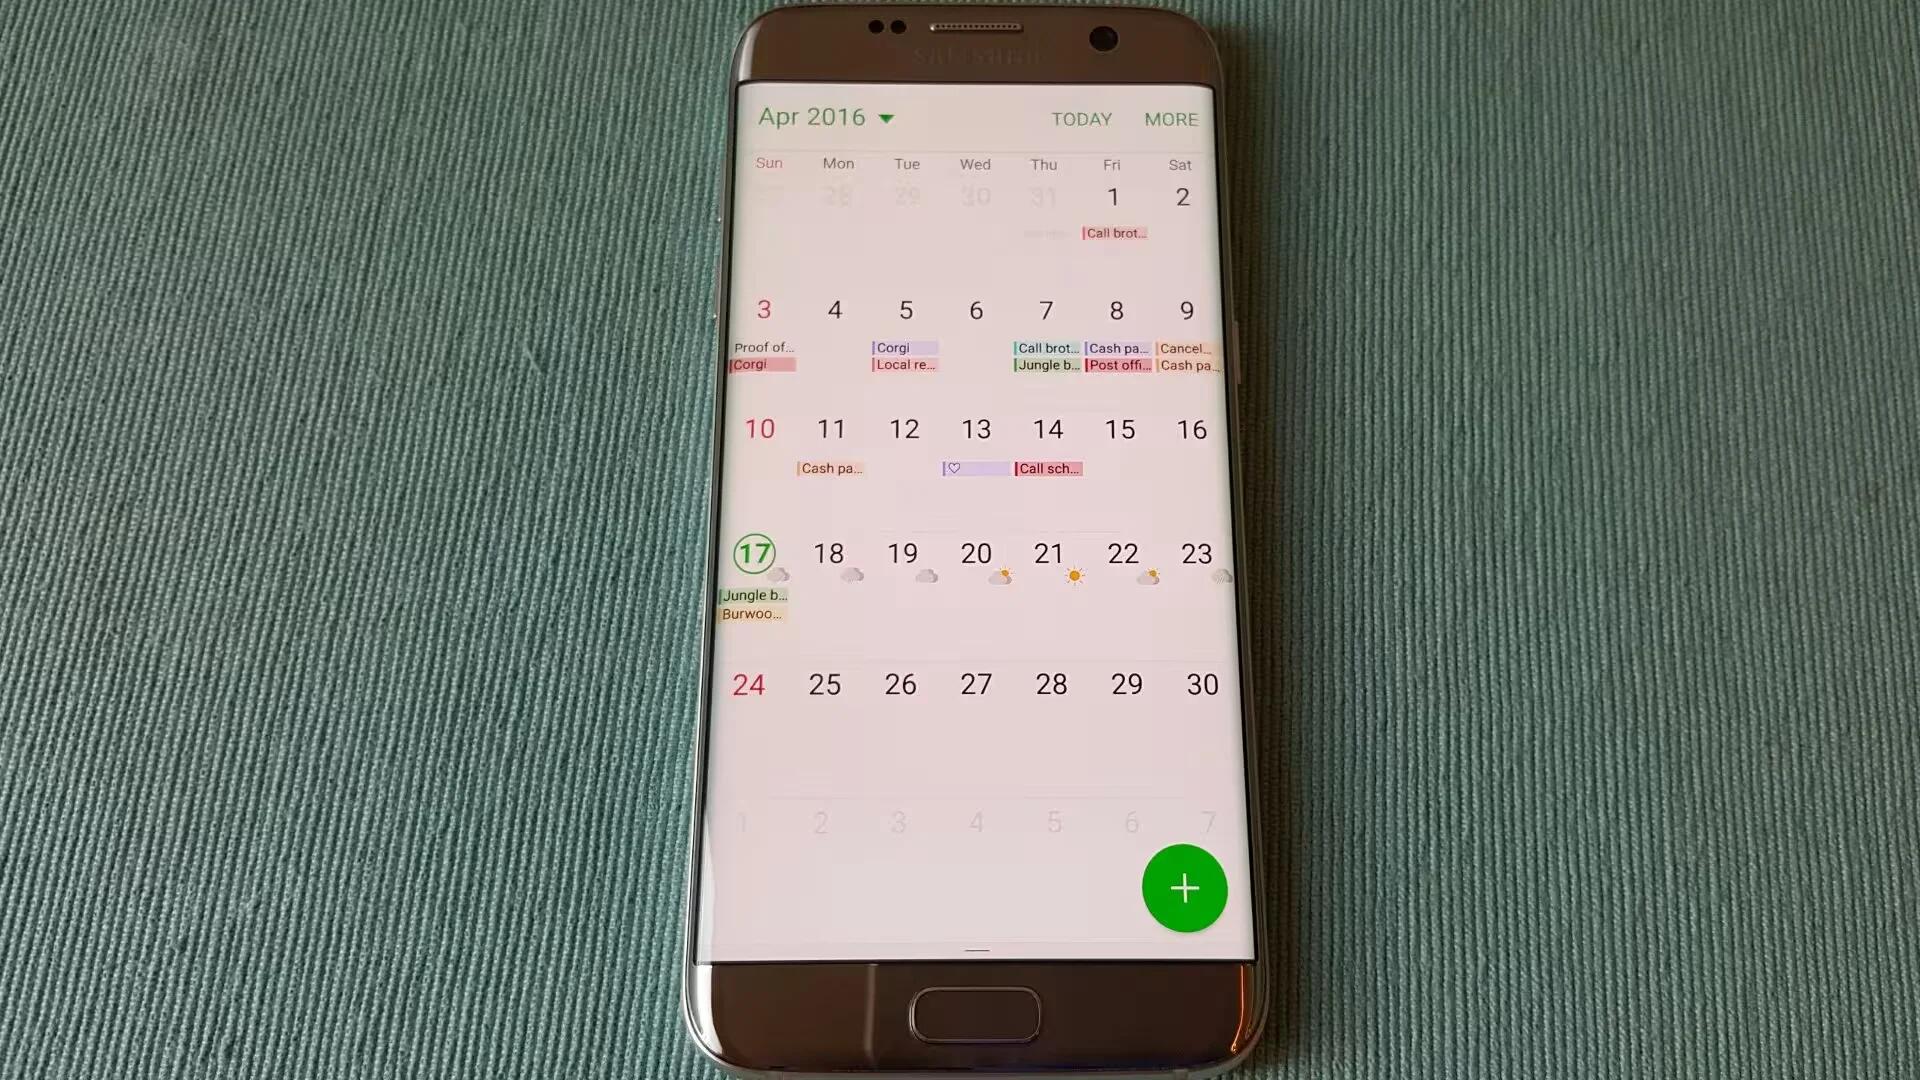
Samsung’s S Planner is a calendar application that enables you to synchronize your calendars to your Galaxy device so that everything is immediately and easily accessible. While the app is available since the Galaxy S1 and in that time, it has undergone a few transformations. Those changes are mostly in the design of the app but there has also been an evolution in freehand calendar entries.
You can expect all the usual features in the S Planner, such as syncing it with your Google and Facebook accounts and adding a location to your event by using Google Maps.
Learn how to use S planner to manage your schedule by entering upcoming events or tasks in your planner.
Creating events

- Tap S Planner on the Apps screen.
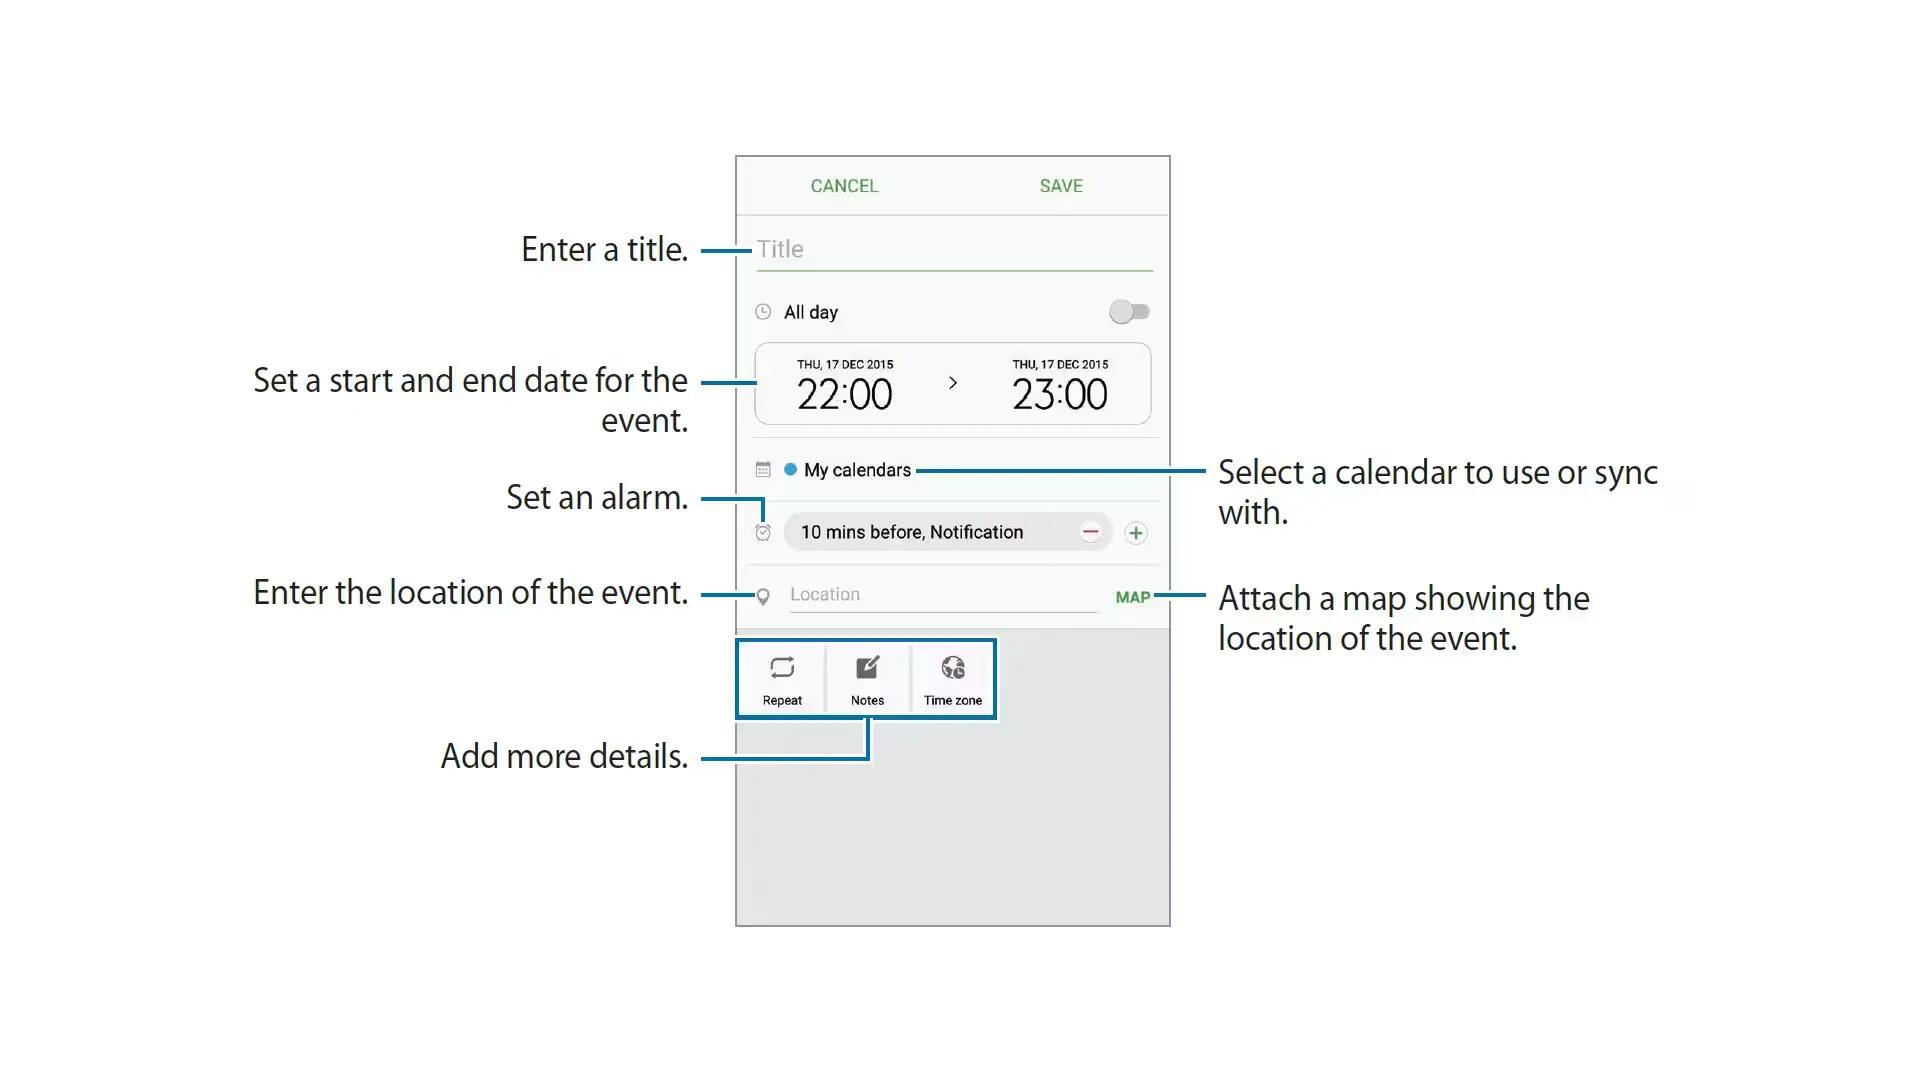
- Tap [Add Icon] or double-tap a date. If the date already has saved events or tasks in it, tap the date and tap [Add Icon].
- Enter event details.
- Tap SAVE to save the event.
Creating tasks
- Tap S Planner on the Apps screen.
- Tap [More Icon] (an icon looking like a down arrow) > Tasks.
- Enter task details and tap TODAY or TOMORROW to set a due date. To add more details, tap [Expand Icon].
- Tap SAVE to save the task.
Syncing events and tasks with your accounts
On the Apps screen, tap Settings > Accounts, select an account service, and then tap the Sync Calendar switch to sync events and tasks with the account.
To add accounts to sync with, open the Apps screen and tap S Planner > MORE > Manage calendars > Add account. Then, select an account to sync with and sign in. When an account is added, it will appear on the list.
